

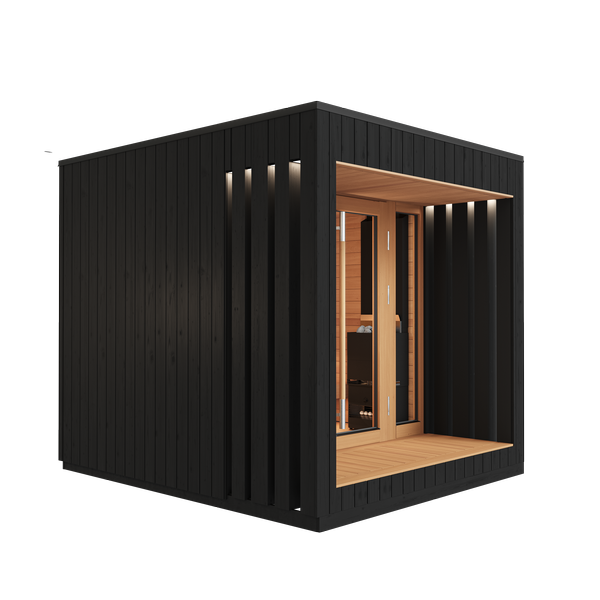


Building or renovating an indoor sauna is a rewarding project, but one detail that often gets overlooked is ventilation. Get it right, and your home sauna will feel fresh, comfortable, and safe every single session. Get it wrong, and you end up with stale air, uneven heat, and a space that feels more suffocating than relaxing. Whether you are installing a brand-new sauna or troubleshooting an existing one, understanding how air moves through your sauna is the foundation for everything else.
This guide answers the most common questions about indoor sauna ventilation in plain, practical terms. From vent placement to air-change rates, each section gives you a direct answer you can act on right away.
Why does proper ventilation matter in an indoor sauna?
Proper ventilation in an indoor sauna matters because it maintains breathable air quality, regulates humidity, and ensures consistent heat distribution throughout the room. Without adequate airflow, carbon dioxide accumulates near the floor, moisture builds up in the structure, and the sauna becomes uncomfortable—or even unsafe—during extended sessions.
A well-ventilated sauna replaces oxygen-depleted air with fresh air at a controlled rate, which keeps the atmosphere comfortable even during long sessions. It also protects the wooden structure itself. Trapped moisture causes warping, mold growth, and premature deterioration of the benches and wall panels. Good ventilation is therefore both a health consideration and a long-term investment in the sauna itself.
Temperature consistency is another reason ventilation matters so much. In a poorly ventilated sauna, heat stratifies sharply, with the air near the ceiling reaching extreme temperatures while the lower level stays comparatively cool. This makes the experience unpleasant and can make it harder to breathe. Proper airflow reduces that gap and creates a more even, enjoyable environment from floor to ceiling.
How does air circulation work inside a sauna?
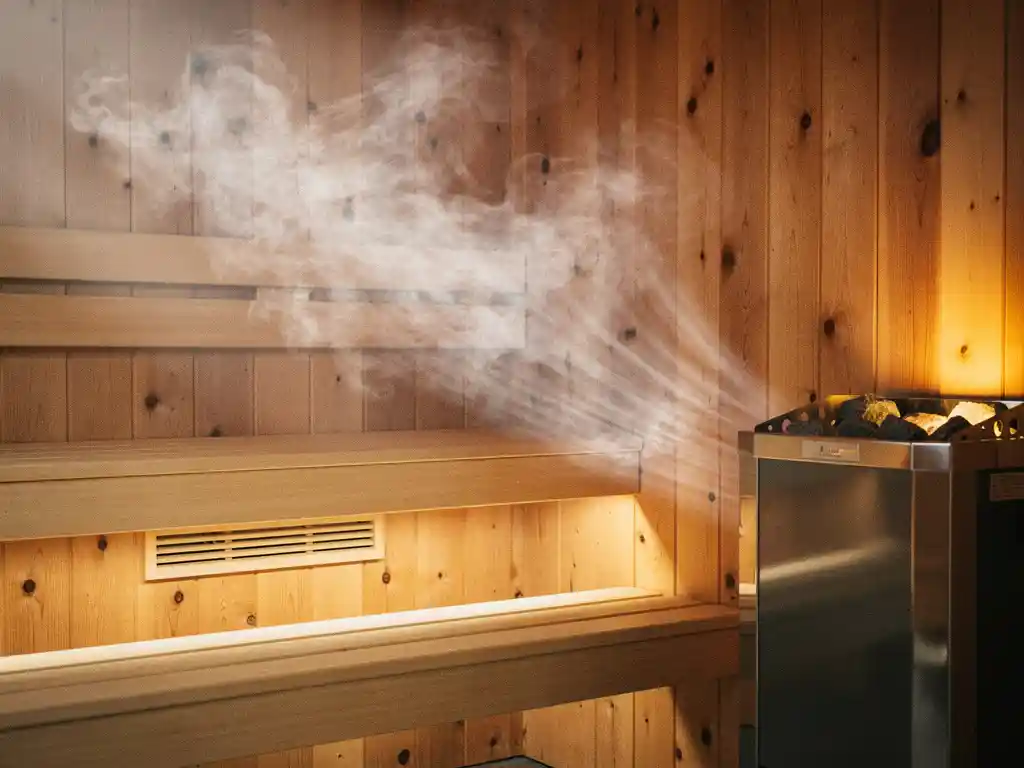
Air circulation inside a sauna works through a combination of natural convection and, in modern systems, mechanical assistance. The heater warms the air near the floor, hot air rises toward the ceiling, and cooler fresh air enters through a low intake vent. The cycle continues as warm, humid air exits through an exhaust vent positioned lower on the opposite wall.
In a traditional passive setup, this convective loop is driven entirely by temperature differences. Warm air is lighter and rises naturally, while denser, cool air sinks. The intake vent near the heater feeds the cycle, and the exhaust vent allows spent air to leave. The challenge is that this natural movement is slow and uneven, which is why the ceiling area can become dangerously hot while the lower benches remain cooler.
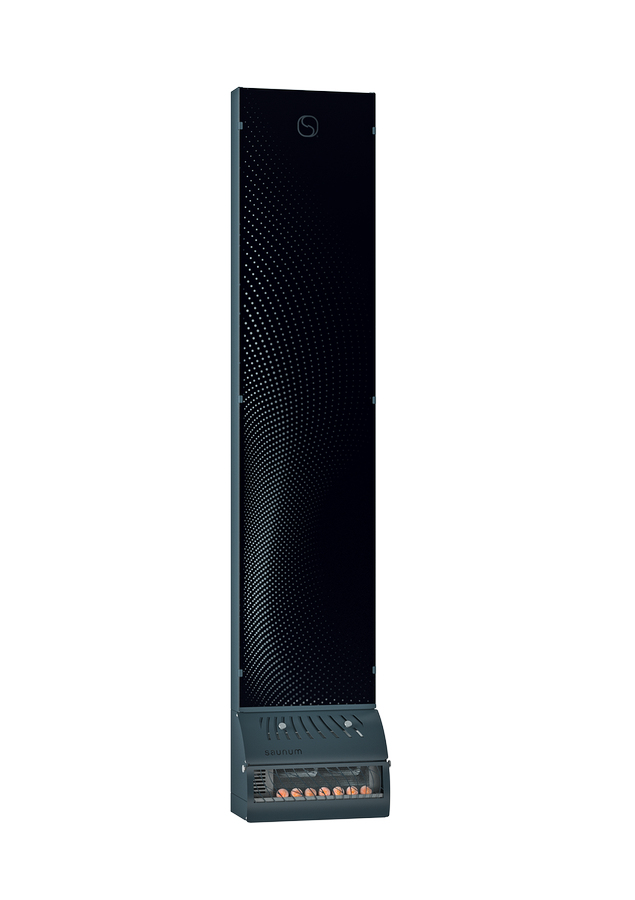
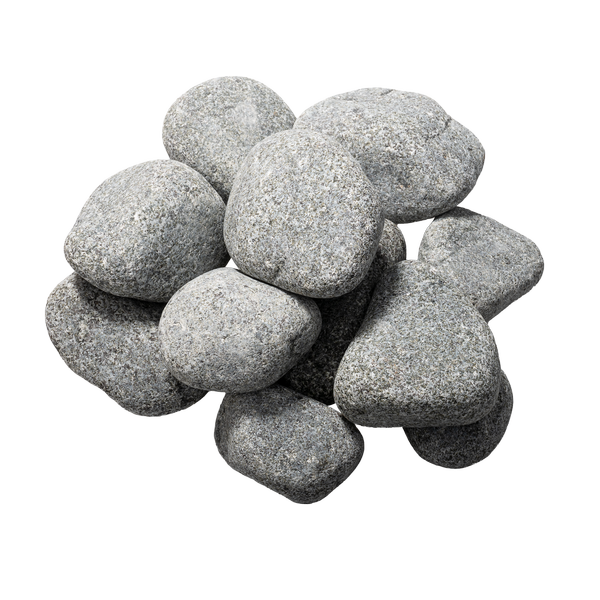
Modern sauna designs address this limitation with mechanical circulation. A fan-assisted system actively blends the air layers rather than waiting for convection to do the work. This is the principle behind air-blending technology used in sauna heaters, where the system captures scorching steam that has accumulated near the ceiling and mixes it with the cooler, more oxygen-rich air near the floor. The result is a more uniform temperature throughout the room and air that is genuinely easier to breathe during your session.
Where should sauna vents be placed for best results?
For best results, place the fresh-air intake vent low on the wall near the heater, ideally within 200 to 300 mm of the floor. Position the exhaust vent on the opposite wall, below the top bench level, roughly 150 to 300 mm above the floor. This layout drives a diagonal airflow path that covers the full height of the sauna room.
Intake vent placement
The intake vent should sit close to the heater so that incoming fresh air is immediately warmed before it spreads through the room. Placing it near floor level ensures that the coolest, most oxygen-rich air enters at the bottom and rises naturally as it heats. Some builders place the intake directly below or beside the heater for this reason.
Exhaust vent placement
The exhaust vent placement surprises many first-time builders. Because you want to remove stale, humid air that has already circulated through the room, the exhaust should not be at ceiling height. Placing it high on the wall simply pulls out the hottest air before it has done its job. A low exhaust on the wall opposite the heater, below bench level, draws air across the full length of the room and removes it efficiently without wasting heat.
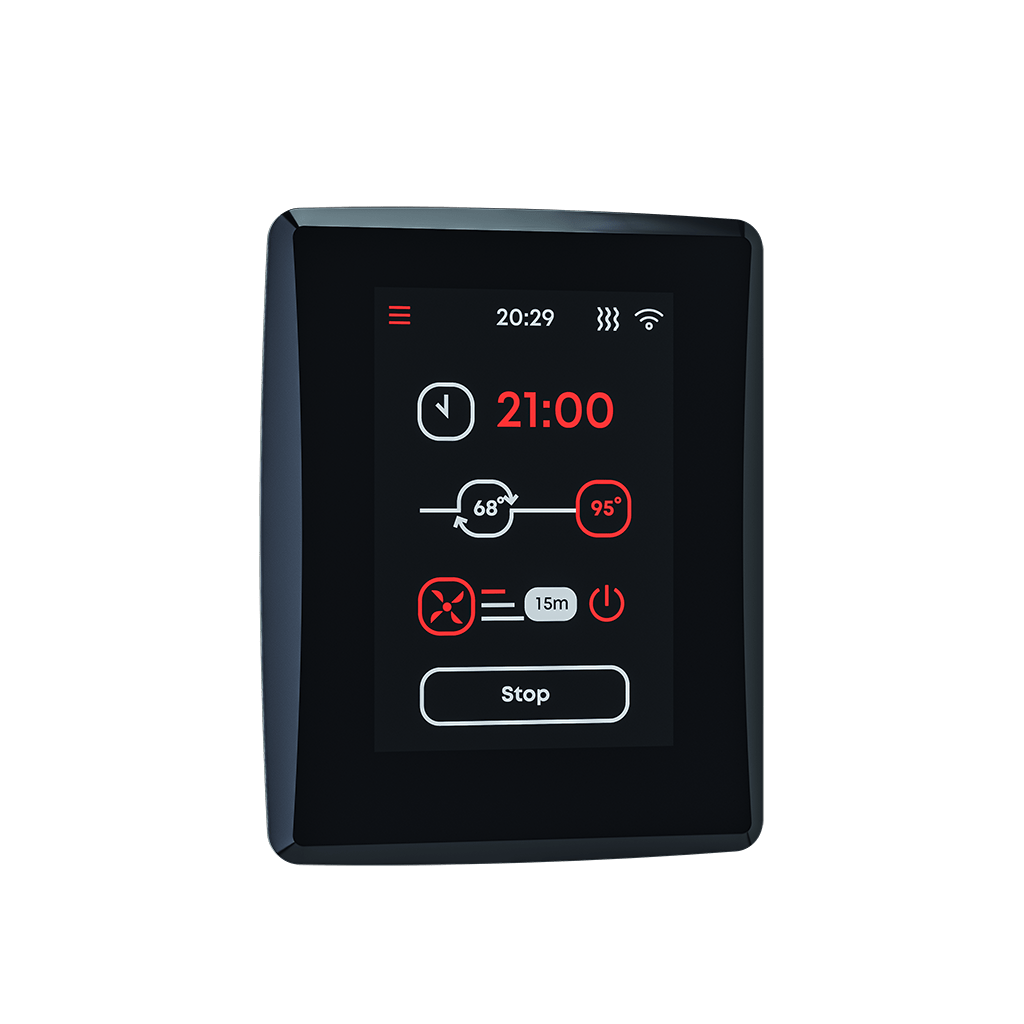
Both vents should be adjustable so you can fine-tune airflow for different session types. A classic Nordic sauna run at high temperatures needs less ventilation than a humid, steam-rich session at lower temperatures.
What’s the difference between passive and active sauna ventilation?
Passive sauna ventilation relies entirely on natural convection and pressure differences to move air through the room, with no mechanical components. Active sauna ventilation uses a fan or blower to mechanically move and mix air, giving you direct control over airflow rate and distribution. Active systems deliver more consistent results and are especially valuable in tightly sealed indoor saunas.
Passive ventilation
Passive ventilation is simple and quiet. It works well in saunas with good natural draft, such as those with an exterior wall where pressure differentials help pull air through. The main limitation is inconsistency. On calm days, or in basement saunas with no exterior wall, passive ventilation may not generate enough airflow to keep the air fresh or the temperature even.
Active ventilation
Active ventilation gives you control. A mechanical fan draws fresh air in or pushes stale air out at a predictable rate, regardless of external conditions. In a home sauna installed inside a house, active ventilation is almost always the more reliable choice. It also opens the door to more sophisticated climate management, including systems that blend hot and cool air zones to eliminate temperature stratification entirely.
For most indoor sauna builds, a hybrid approach works best: passive intake vents combined with a mechanical exhaust fan or an integrated climate device that handles active air blending.
How many air changes per hour does an indoor sauna need?
An indoor sauna generally needs between 3 and 8 air changes per hour during active use. The exact number depends on the sauna volume, the number of occupants, and the session type. A compact home sauna used by one or two people at the lower end of this range will maintain comfortable air quality, while a more heavily used sauna benefits from the higher end of the range.
Air changes per hour (ACH) is a straightforward concept: it describes how many times the entire volume of air in the room is replaced within one hour. A 6-cubic-meter sauna running at 4 ACH replaces 24 cubic meters of air every hour. In practical terms, this means the ventilation system must be sized to match the room volume, not just the room footprint.
One important nuance is that air changes should not happen so rapidly that the sauna loses heat faster than the heater can replace it. Oversized ventilation wastes energy and makes it difficult to maintain target temperatures. The goal is a balanced exchange that keeps oxygen levels comfortable and removes excess humidity without cooling the room unnecessarily. Adjustable vents allow you to dial in the right balance for each session type.
How can you fix uneven heat and poor air quality in an existing sauna?
To fix uneven heat and poor air quality in an existing sauna, start by checking that your intake and exhaust vents are correctly positioned and fully functional. If the vent layout is already correct, the most effective upgrade is adding a mechanical air-blending device that actively mixes the temperature layers inside the room rather than relying on passive convection alone.
Common problems in existing saunas include vents that have been blocked or sealed by previous owners, exhaust vents placed too high on the wall, and no mechanical assistance to overcome temperature stratification. Each of these issues has a practical fix. Blocked vents can be cleared or repositioned. A high exhaust can be relocated or supplemented with a lower-level vent. Temperature stratification, the most persistent problem, requires active air movement to solve properly.
- Check that intake vents are positioned low on the wall near the heater and are fully open during sessions.
- Verify that exhaust vents are below bench level, not at ceiling height.
- Ensure the sauna door has a small gap at the bottom or a dedicated make-up air path to maintain continuous airflow.
- Consider adding a standalone climate device if the existing heater does not include one. Consult a sauna specialist for personalised advice if you are unsure which solution fits your setup.
If you have already addressed vent placement and still experience hot spots near the ceiling and cooler air at bench level, the issue is almost certainly a lack of mechanical air blending. This is a structural problem in how heat behaves in a sealed room, and no amount of passive vent adjustment will fully resolve it.
How Saunum helps with indoor sauna air quality and ventilation
We designed every Saunum product around the core problem that makes indoor sauna ventilation so difficult: temperature stratification. Our patented air-blending system actively captures scorching steam that accumulates near the ceiling and mixes it with the cooler, oxygen-rich air near the floor. This eliminates the extreme temperature gap between ceiling and floor that makes traditional saunas uncomfortable and hard to breathe in.
Here is what that means in practice for your sauna build or upgrade:
- Even heat from floor to ceiling means you can sit comfortably at any bench level without the upper benches becoming dangerously hot.
- Softer, longer-lasting steam allows you to ladle water more frequently for a richer sauna experience without the usual sharp, uncomfortable blast.
- Oxygen-enriched circulating air makes breathing noticeably easier during longer sessions, reducing the fatigue and headaches that poor air quality can cause.
- The Saunum Base is a standalone climate device that adds our air-blending technology to any existing heater, making it an ideal retrofit solution if you do not want to replace your current setup.
Whether you are building a new home sauna from scratch or improving an existing sauna, Saunum home sauna solutions give you the tools to solve ventilation and air quality at the source rather than working around the problem. Explore our full product range to find the right solution for your sauna dimensions and goals.
If you’re interested in getting started with Sauna, check out our full range today.


