


Turning your basement into a personal sauna is one of the smartest home improvement projects you can take on. Basements offer natural insulation, easy access to electrical panels, and a private, dedicated space that stays out of the way of daily household life. Whether you are a contractor planning a client build or a DIY enthusiast mapping out your own home sauna, understanding what the project actually involves will save you time, money, and headaches down the line.
This guide walks you through every key question you need to answer before breaking ground on a basement indoor sauna. From structural requirements to heater sizing, ventilation, and common mistakes, you will find direct, practical answers that apply to real-world builds.
Can you really install a sauna in a basement?
Yes, you can absolutely install a sauna in a basement, and it is one of the most practical locations for a home sauna installation. Basements are typically away from living spaces, already partially insulated by the surrounding earth, and close to electrical infrastructure. With proper waterproofing, ventilation, and the right heater, a basement sauna can perform just as well as any above-ground installation.
The key considerations are moisture management and headroom. Basements are prone to humidity, so the sauna structure needs to be built with a vapor barrier and materials that resist long-term moisture exposure. Ceiling height is also worth checking early. Most electric sauna heaters require a minimum ceiling height of around 1,850 mm to 2,150 mm, depending on the unit, so a low-clearance basement may limit your heater options or require a model specifically designed for shorter ceiling clearances.
Beyond those two factors, a basement sauna build follows the same principles as any other indoor sauna installation. More often than not, the location actually works in your favor.
What are the requirements for a basement sauna?
A basement sauna requires four core elements: a properly insulated and vapor-sealed room structure, adequate ceiling height, a dedicated electrical circuit for the heater, and a functional ventilation system. Meeting all four is non-negotiable for a safe, comfortable, and durable sauna.
On the structural side, the sauna room walls, ceiling, and floor must be insulated and covered with a vapor barrier on the warm side of the insulation. This prevents moisture from migrating into your basement walls and causing mold or structural damage over time. Interior surfaces should be finished with untreated softwood such as spruce, pine, or cedar, which handles thermal cycling well and feels comfortable against the skin.
Electrically, your heater will need a dedicated circuit run from your panel. Smaller heaters in the 3 to 6 kW range can often run on single-phase power, while larger units require three-phase power. Always check local building codes and consult a licensed electrician before running new circuits. If your basement panel lacks capacity, that is a cost to factor into your planning budget early.
How do you ventilate a basement sauna properly?
A basement sauna needs both fresh-air intake and exhaust ventilation. The intake vent should be positioned low on the wall near the heater, while the exhaust vent should be placed on the opposite wall near floor level. This cross-ventilation pattern draws fresh air in, allows it to circulate through the heated space, and expels stale, humid air without creating uncomfortable drafts.
Basements present a specific challenge because they do not naturally connect to outside air the way above-grade rooms do. You will likely need to run ductwork to an exterior wall or use a mechanical ventilation system to achieve proper air exchange. The goal is to replace the sauna room air completely several times per hour during use, which keeps oxygen levels comfortable and prevents excessive humidity buildup in the surrounding basement space.
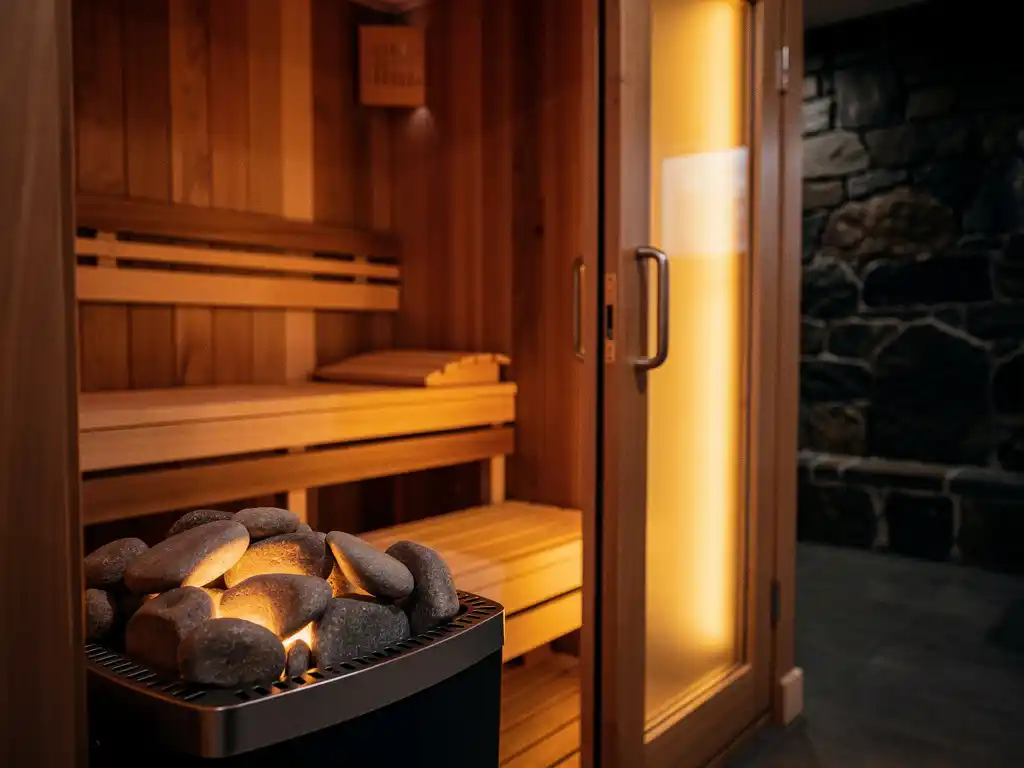
One thing worth knowing is that traditional sauna ventilation alone does not solve the problem of temperature stratification inside the sauna room itself. In a conventionally heated sauna, scorching steam rises and pools near the ceiling while the lower zone stays significantly cooler. A sauna climate device with an air-blending system and patented sauna technology addresses this by actively circulating air from ceiling to floor, creating a more even and breathable environment throughout the session. This is separate from structural ventilation but equally important for comfort.
What size electric heater does a basement sauna need?
The right electric heater size for a basement sauna depends on the cubic volume of the sauna room. As a general rule, you need roughly 1 kW of heating capacity per cubic meter of sauna volume, adjusted upward for any uninsulated surfaces such as concrete walls, glass doors, or tile floors.
Here is a straightforward sizing reference for common home sauna volumes:
- Up to 3 m3: a 3 to 3.6 kW heater is sufficient
- 3 to 6 m3: a 4.5 to 6 kW heater covers the range
- 7 to 10 m3: a 9 kW heater is typically required
Basement saunas often have concrete or block walls that are not fully insulated, which means you need to add volume to your calculation. For every square meter of uninsulated surface, add approximately 1 cubic meter to your effective room volume before selecting a heater. A 10 m3 sauna room with a concrete wall and a glass door, for example, should be treated as a 12 to 13 m3 room for sizing purposes.
Ceiling height also plays a role. Some heater models require a minimum ceiling height of 2,150 mm to operate safely, while others are designed to work in spaces as low as 1,850 mm. If your basement has lower clearance, look specifically for electric sauna heaters for compact spaces with adjustable height or compact form factors built for tighter installations.
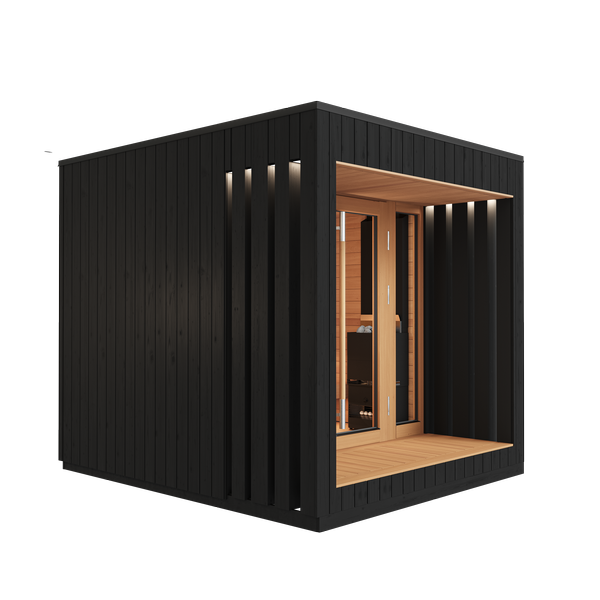
What’s the difference between a pre-built and a custom basement sauna?
The key difference is fit and flexibility. A pre-built or modular sauna comes as a kit with pre-cut panels, a fixed layout, and a bundled heater, making it faster and simpler to install. A custom sauna is built from scratch to match your exact basement dimensions, preferred materials, and specific equipment choices, giving you full control over every element.
Pre-built sauna kits
Pre-built kits are a strong option if your basement has a relatively standard rectangular space and you want a straightforward installation process. Most kits include all the lumber, a vapor barrier, benches, and a basic heater in one package. The trade-off is that you are limited to the dimensions and materials the manufacturer offers, and the included heater may not be the most efficient or feature-rich option available.
Custom basement saunas
A custom build lets you work around irregular basement layouts, low beams, support columns, or unusual ceiling heights. You choose your own insulation, wood species, bench configuration, and, most importantly, your heater and climate system. This approach takes more planning and typically a larger budget, but the result is a sauna that fits your space perfectly and performs exactly the way you want it to.
For contractors and serious DIY builders, a custom build also gives you the freedom to specify a heater with integrated climate-control technology, which delivers a noticeably better sauna experience than the basic element heater included in most kit packages.
What mistakes should you avoid when building a basement sauna?
The most common mistakes in basement sauna builds come down to skipping steps that seem optional but are actually essential: inadequate vapor barriers, undersized heaters, poor ventilation planning, and ignoring local electrical codes. Each of these errors is expensive to fix after the fact.
Vapor barrier errors are the most damaging in the long term. If the barrier is installed on the wrong side of the insulation or has gaps around penetrations, moisture will work its way into your basement structure over months of use. Always install the vapor barrier on the warm interior side of the insulation, and seal every seam and penetration carefully.
Undersizing the heater is another frequent mistake, especially when builders forget to account for uninsulated surfaces. A heater that is too small will struggle to reach temperature, run continuously, and wear out faster. Always calculate effective volume rather than actual volume when selecting your unit.
Finally, do not overlook the electrical rough-in before finishing the walls. Running conduit and circuits after the interior is complete is far more disruptive and costly than planning the electrical layout from the start. Work with a licensed electrician during the framing stage, not after.
How Saunum helps with electric sauna heaters for basement installations
Saunum offers a range of electric sauna heaters and climate devices that are well suited to basement sauna builds, whether you are working with a compact room or a larger dedicated spa space. Our products are designed to solve the real problems that show up in enclosed indoor saunas, including temperature stratification, low breathability, and inconsistent steam.
Here is what makes our lineup practical for basement installations specifically:
- The Saunum Experience covers sauna volumes from 2 to 10 m3, with adjustable height from 1,850 to 2,400 mm, making it compatible with most basement ceiling heights
- The Saunum Base can be added to any existing heater as a retrofit climate device, ideal if you are working with a pre-built kit and want to upgrade the air quality without replacing the whole unit
- Every Saunum heater includes our patented air-blending system, which actively circulates air from ceiling to floor so your basement sauna delivers even heat and oxygen-rich steam throughout the room
- Our 5-in-1 spa solution lets you switch between a classic Nordic sauna, a steam-rich sauna, relaxing low-temperature sessions, salt-ion therapy, and an aroma sauna using the same heater
If you are planning a basement sauna and want to get the heater selection right from the start, Saunum is ready to help. Explore our full product range, use our sizing guidance to match the right unit to your room, and reach out to our team directly for installation support.


